Abstract
As a tester it is critical to understand the impact of your actions. One way to accomplish this is to instrument a lab to analyze your attacks and tactics as you are developing them.
In
High level objectives:
- Design Considerations
- Install and base configure PFSense
- Configure switches
- What's next?
Design Considerations
I want to have one network that can be instrumented with very fine grain controls where I can place systems under test, and a second management network for services/infrastructure/cluster communications.
Since it is difficult to get screenshots of the PFSense build when working with hardware I will document this building a pfsense vm in my lab.
Install and base configure PFSense
Step 0: Download pfsense and unpack it
curl https://nyifiles.pfsense.org/mirror/downloads/pfSense-CE-2.4.4-RELEASE-amd64.iso.gz -o pfsense.iso.gz
gunzip pfsense.iso.gz
Step 1: Get it into something that will boot, and build the firewall.
Here you would use etcher for usb or sd card. Since I'm building this in my proxmox cluster, I will go ahead and show that process. Good luck. Etcher is very user friendly.
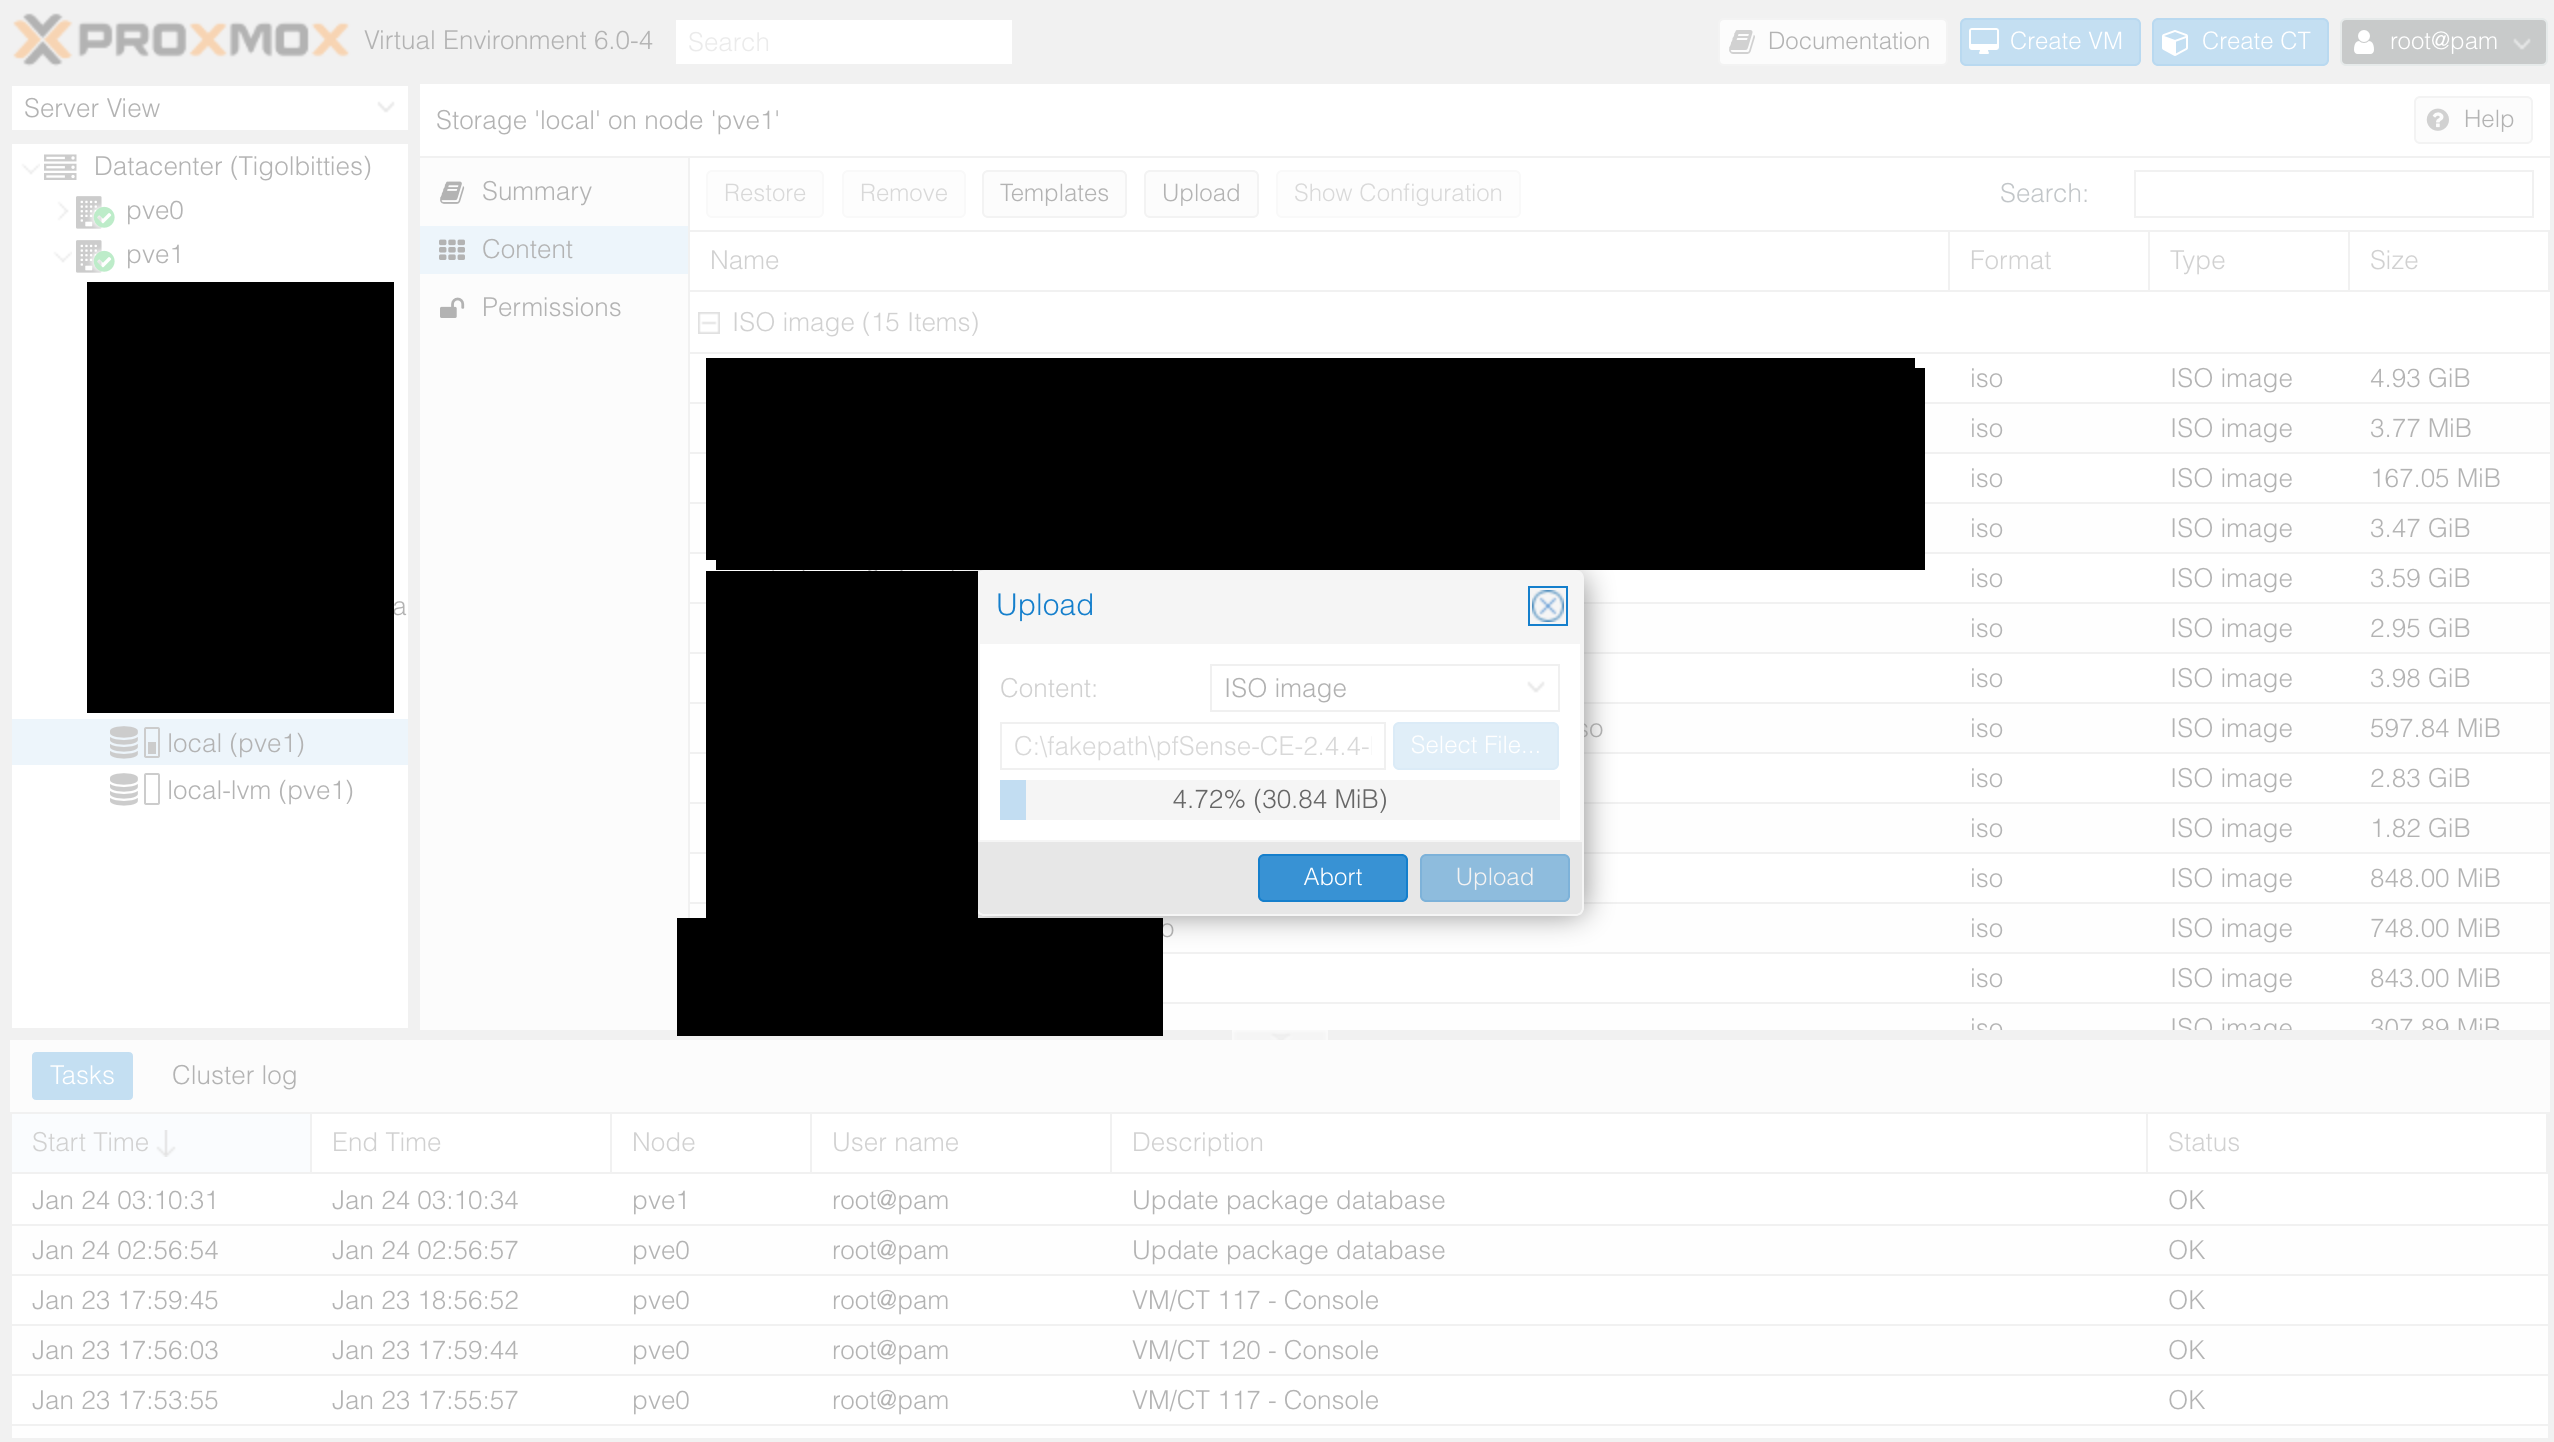
First we need to upload the iso to the local image storage for the proxmox node on which we wish to build our firewall.
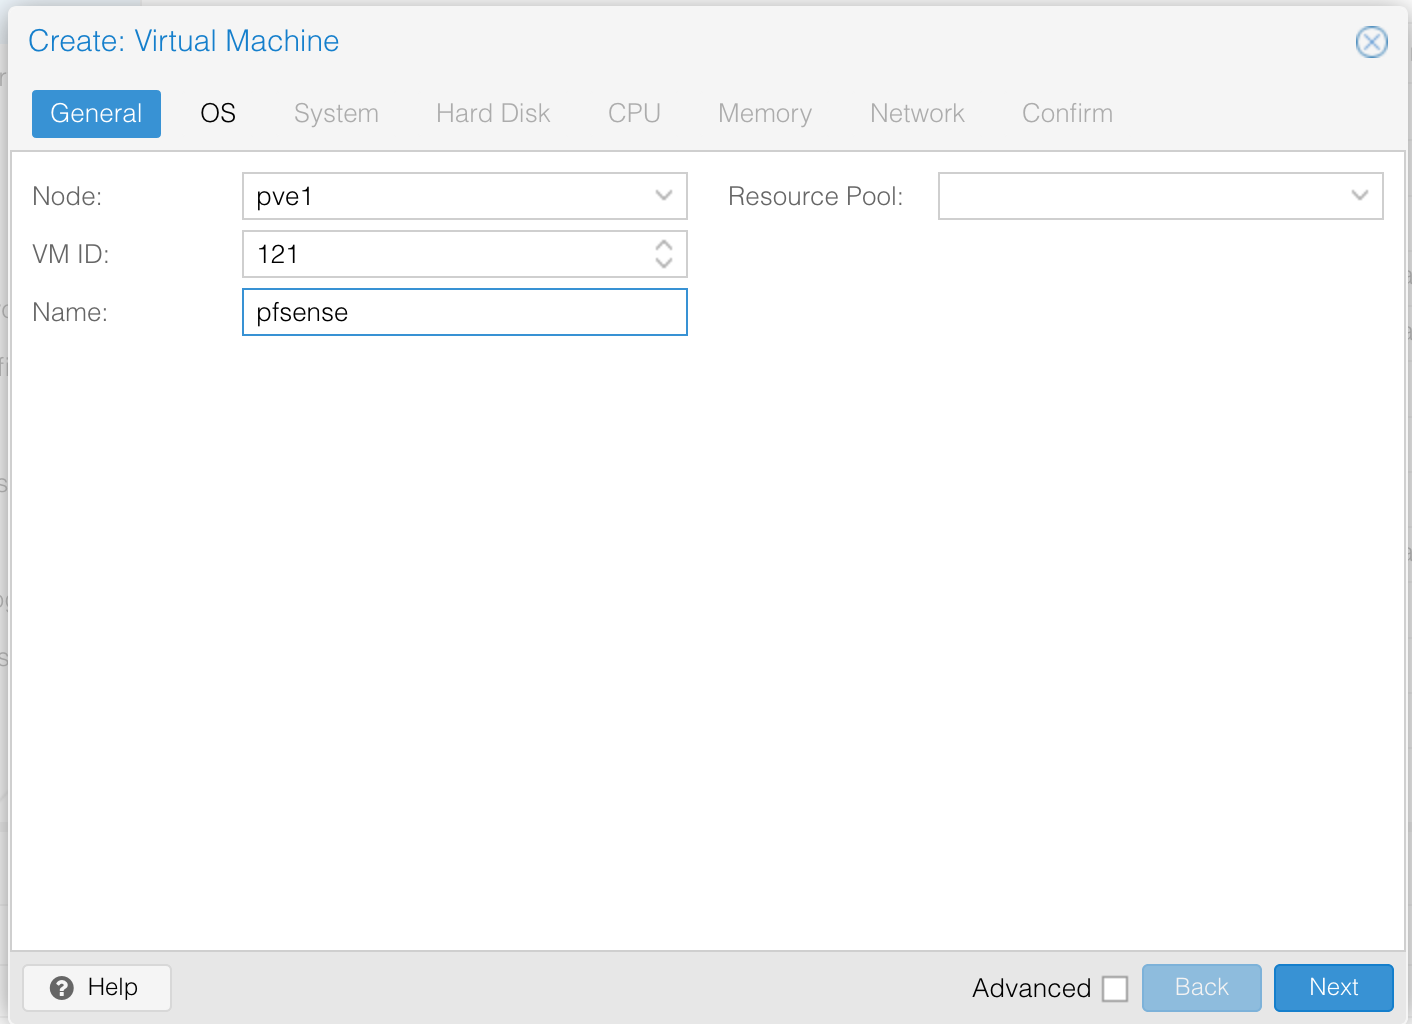
Next we create the VM using the Create VM workflow.
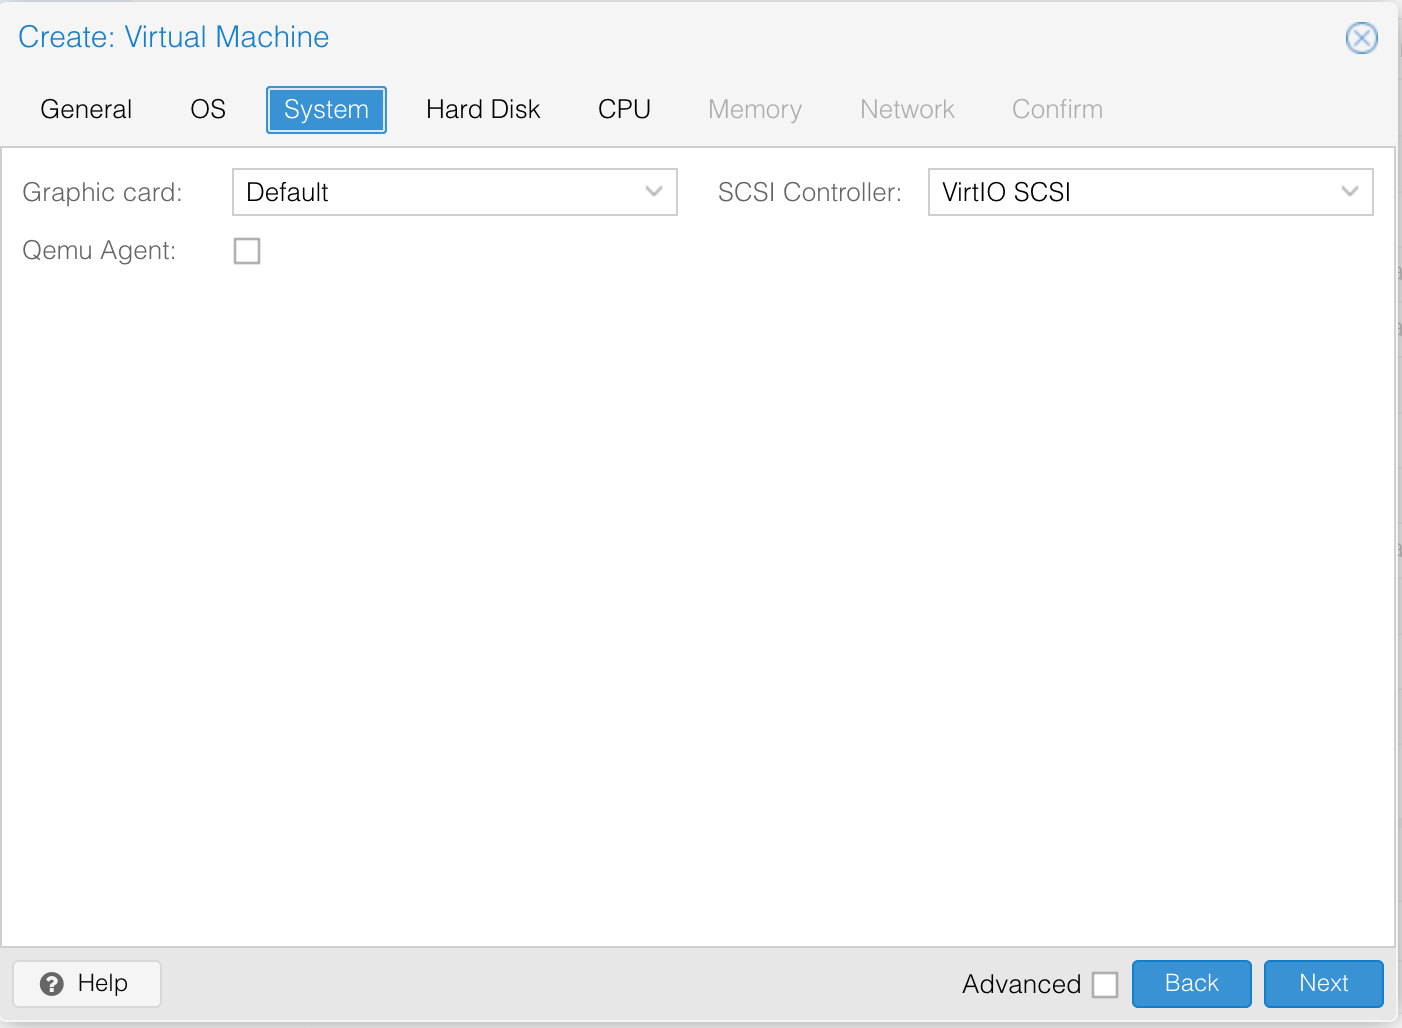
Many of these settings may be safely left as default.
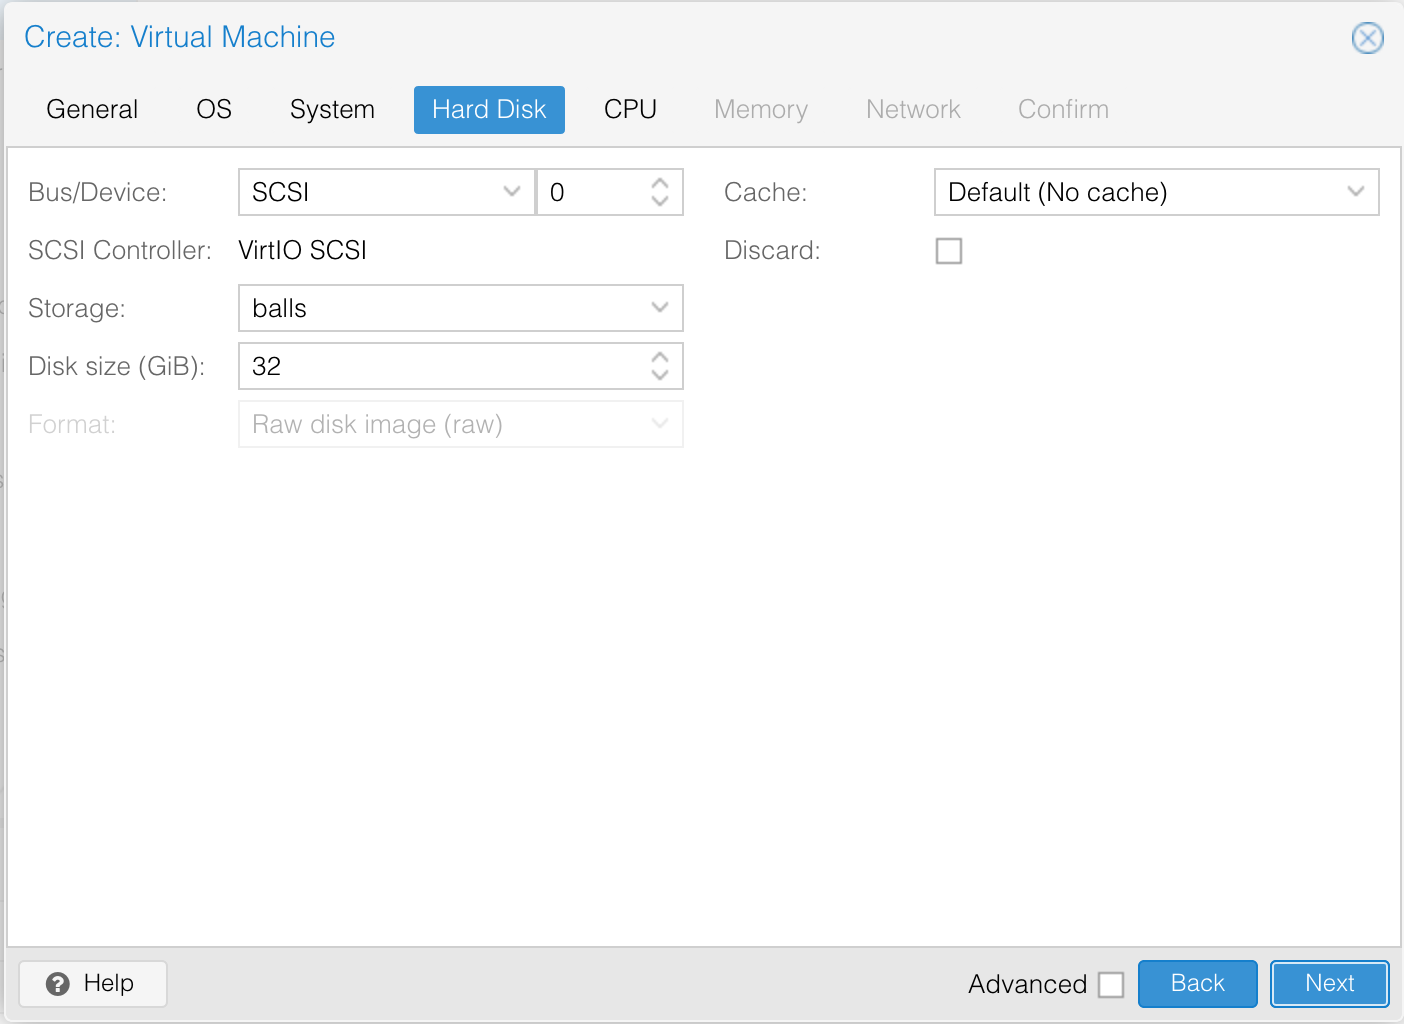
We create our virtual disk, and put it on our mass storage device.
Life is just better with two cores. The single core VMs just do not run that well.
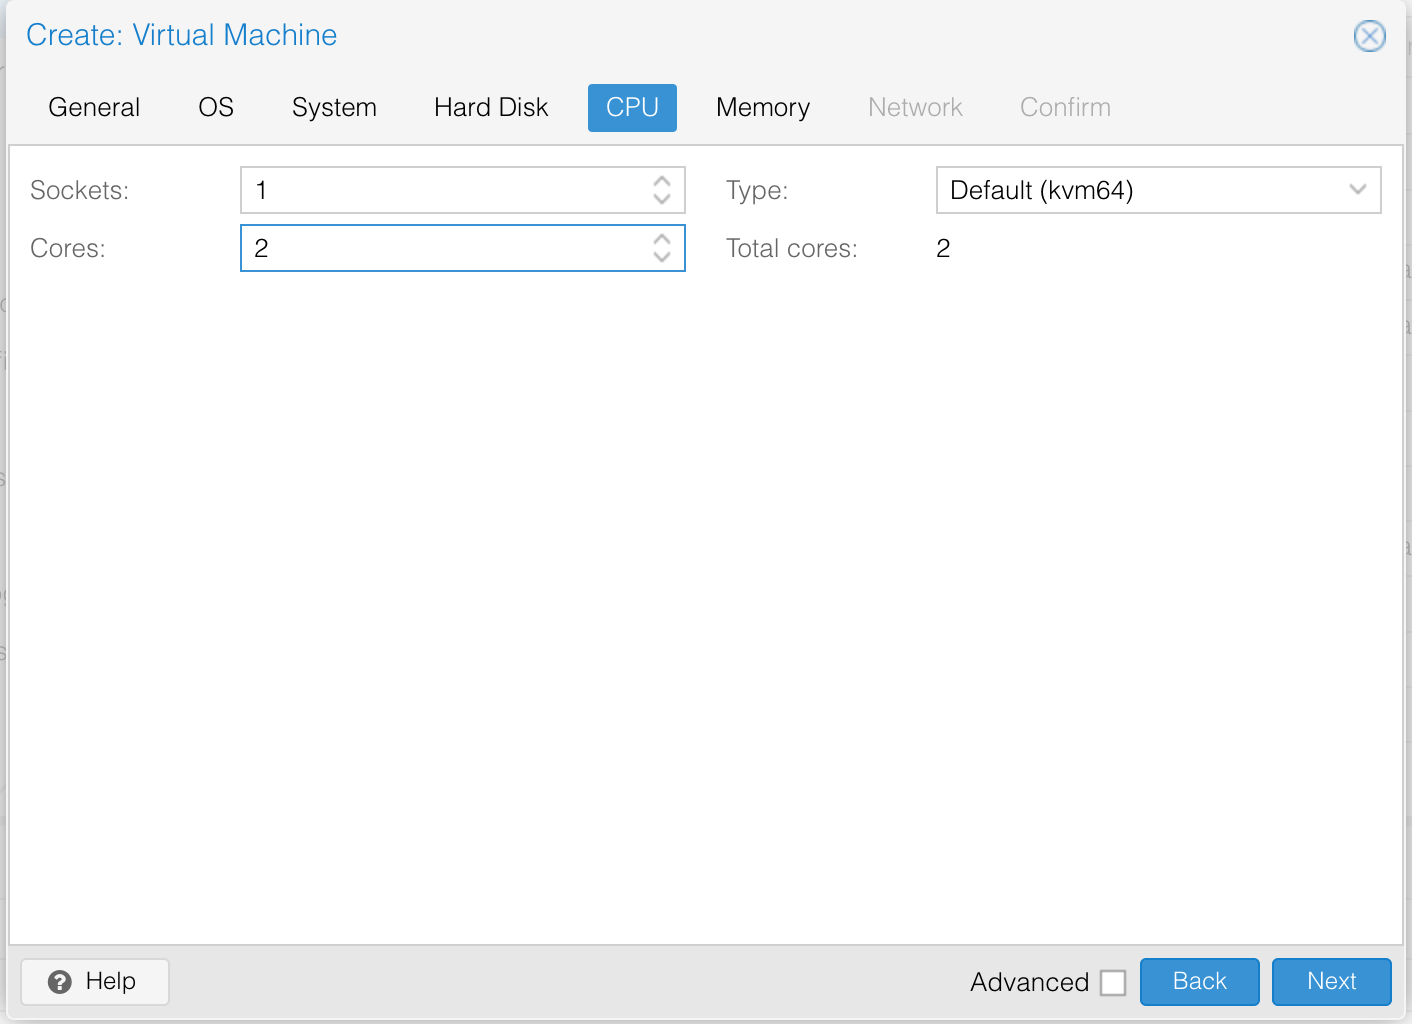
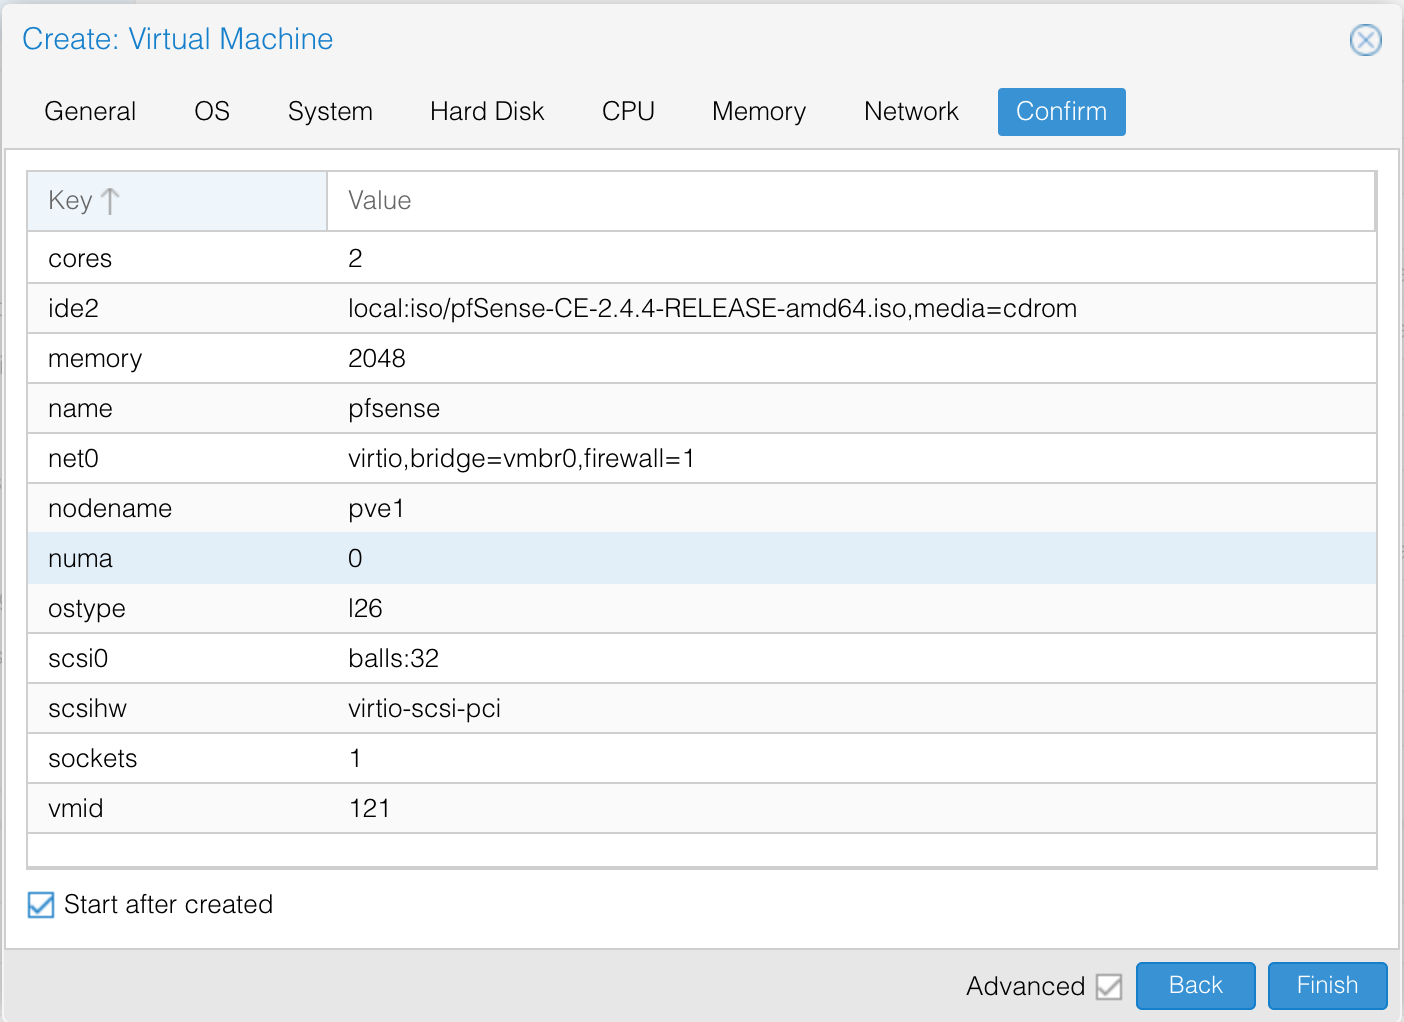
Confirm everything looks right, and boot the vm.
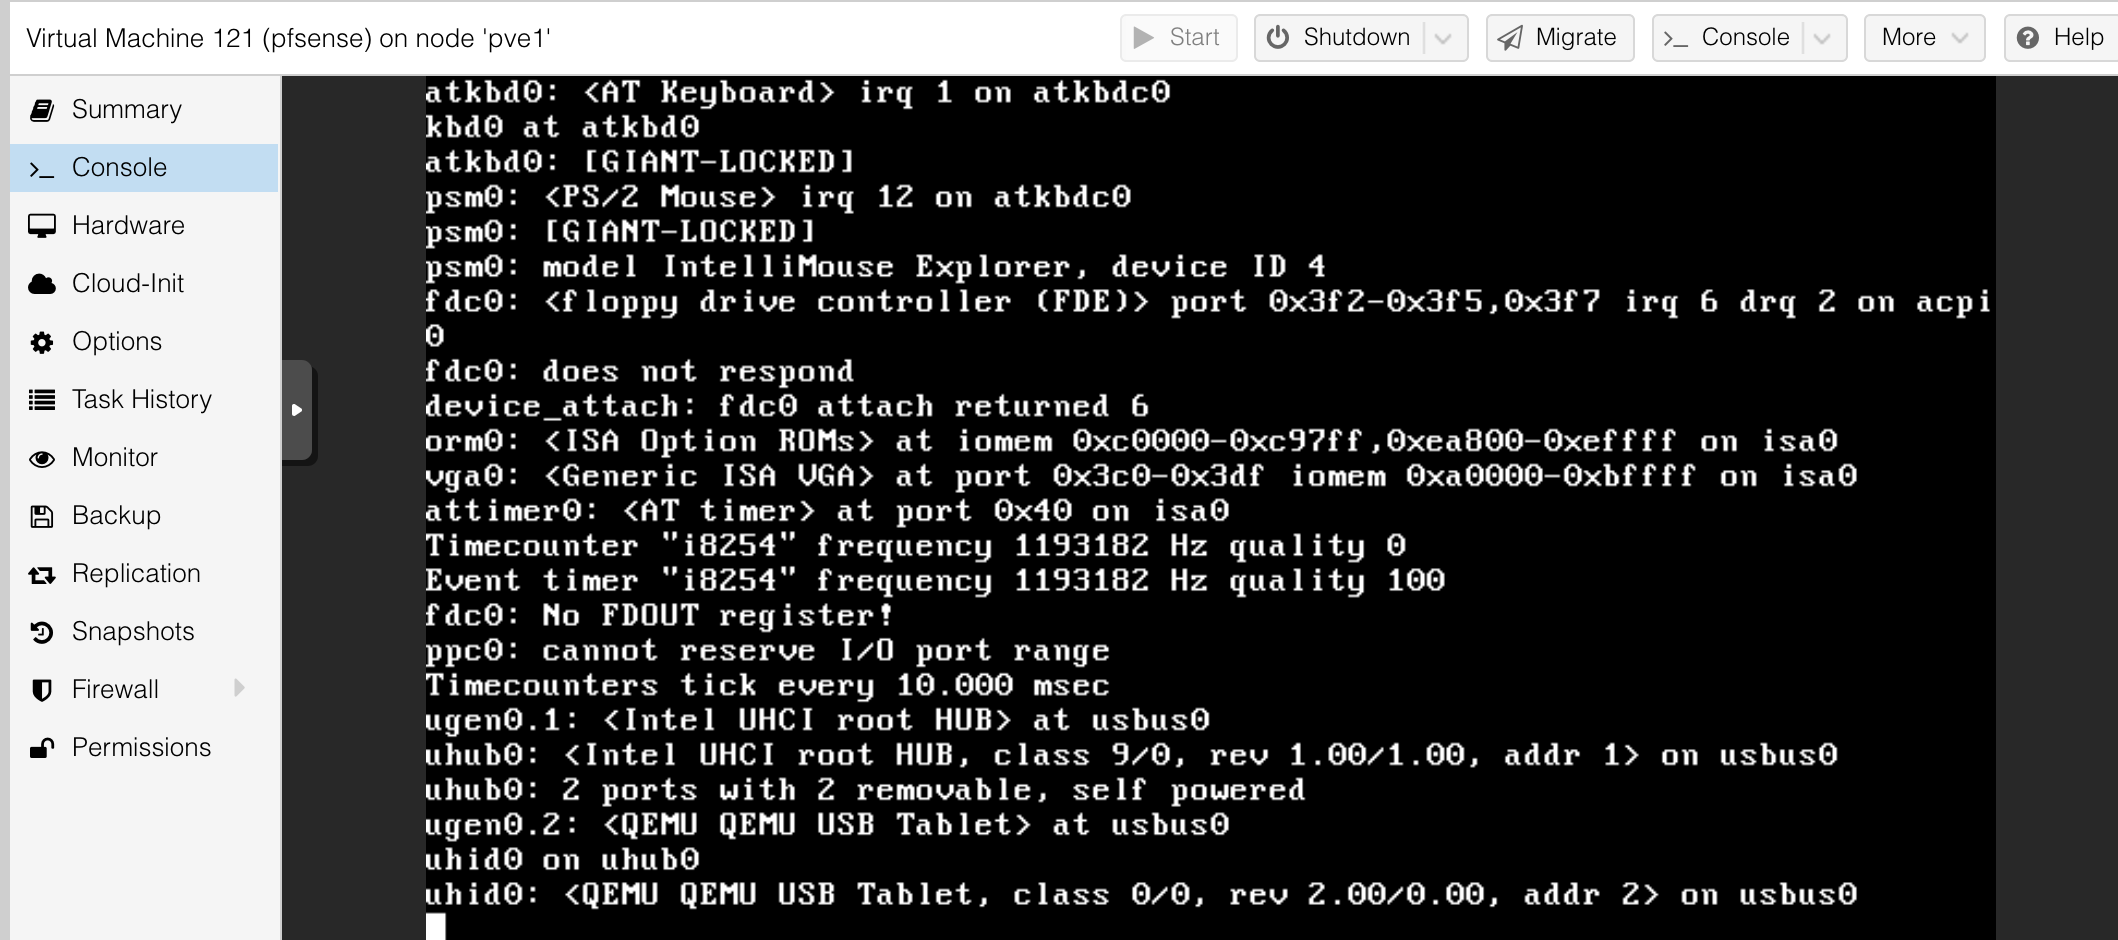
From here on the screens should be roughly what you get with physical pfsense.
Booting for the install for the first time.
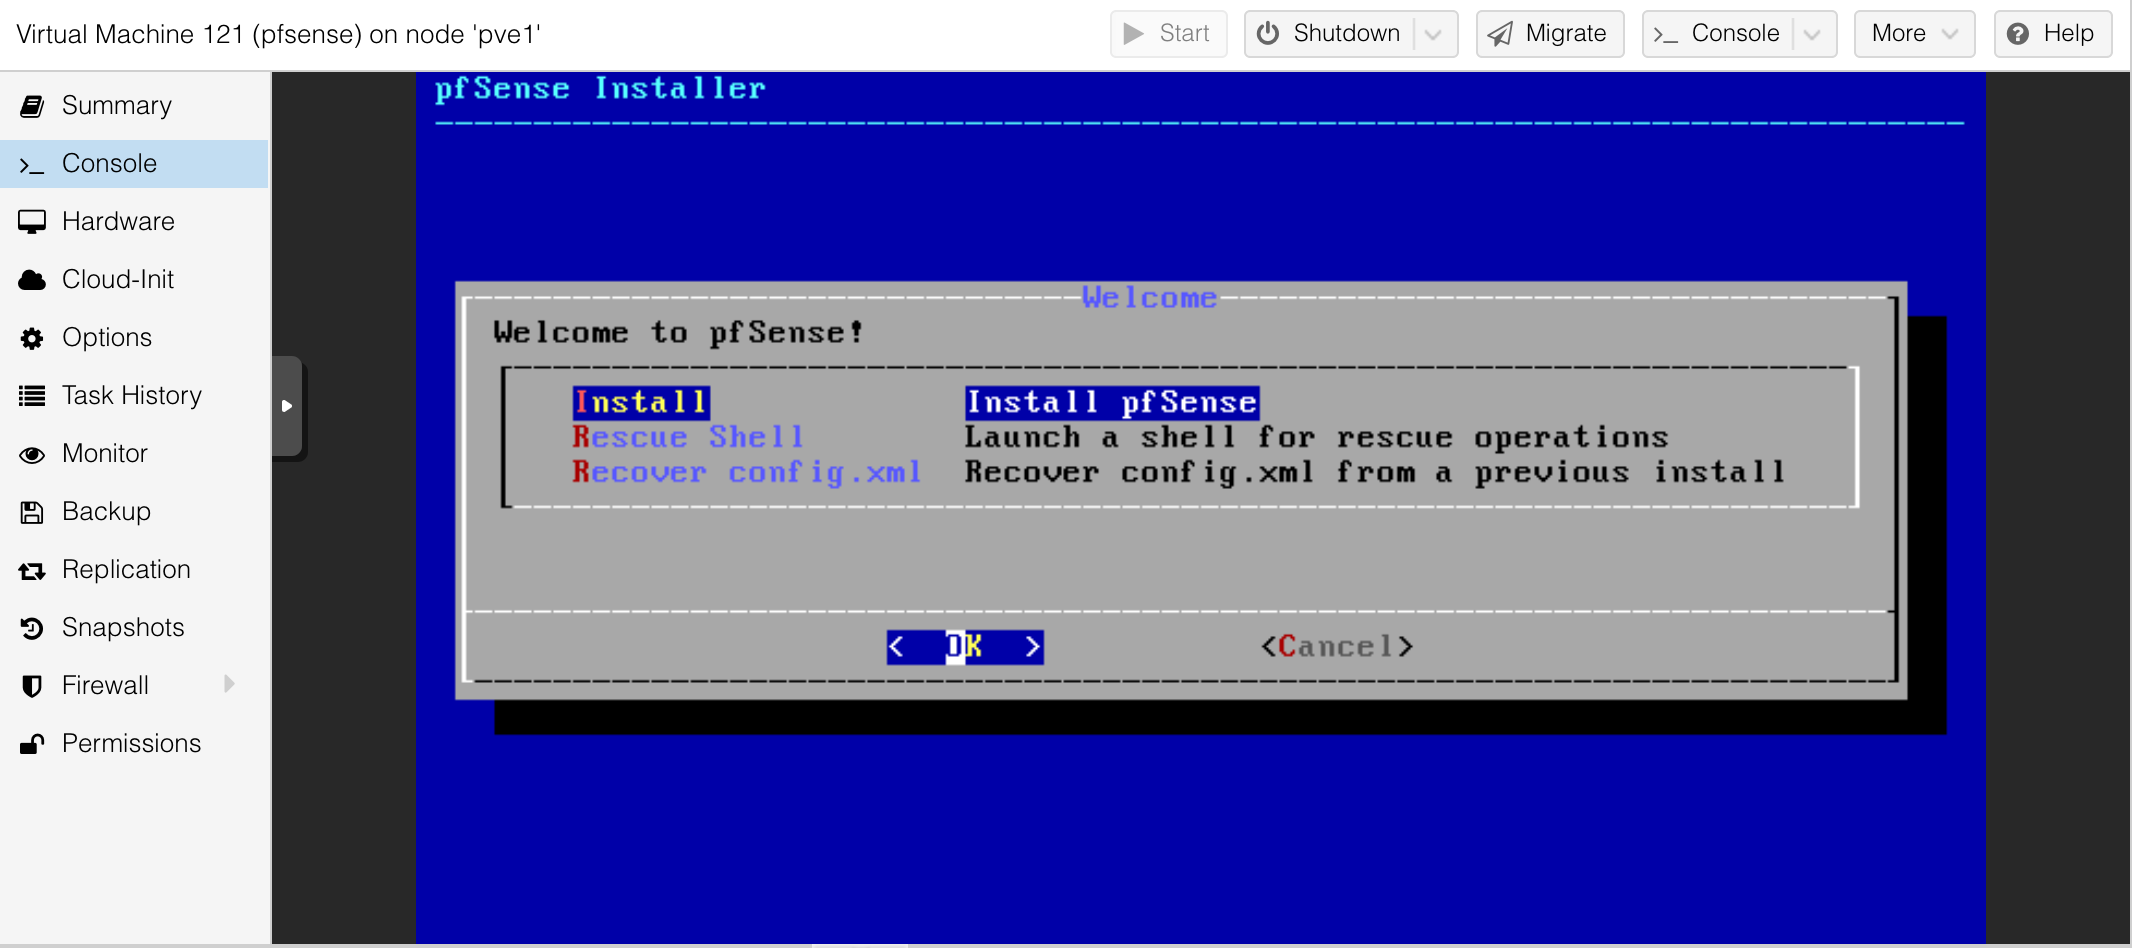
Select install.
Set the keyboard mapping. I kept the default.
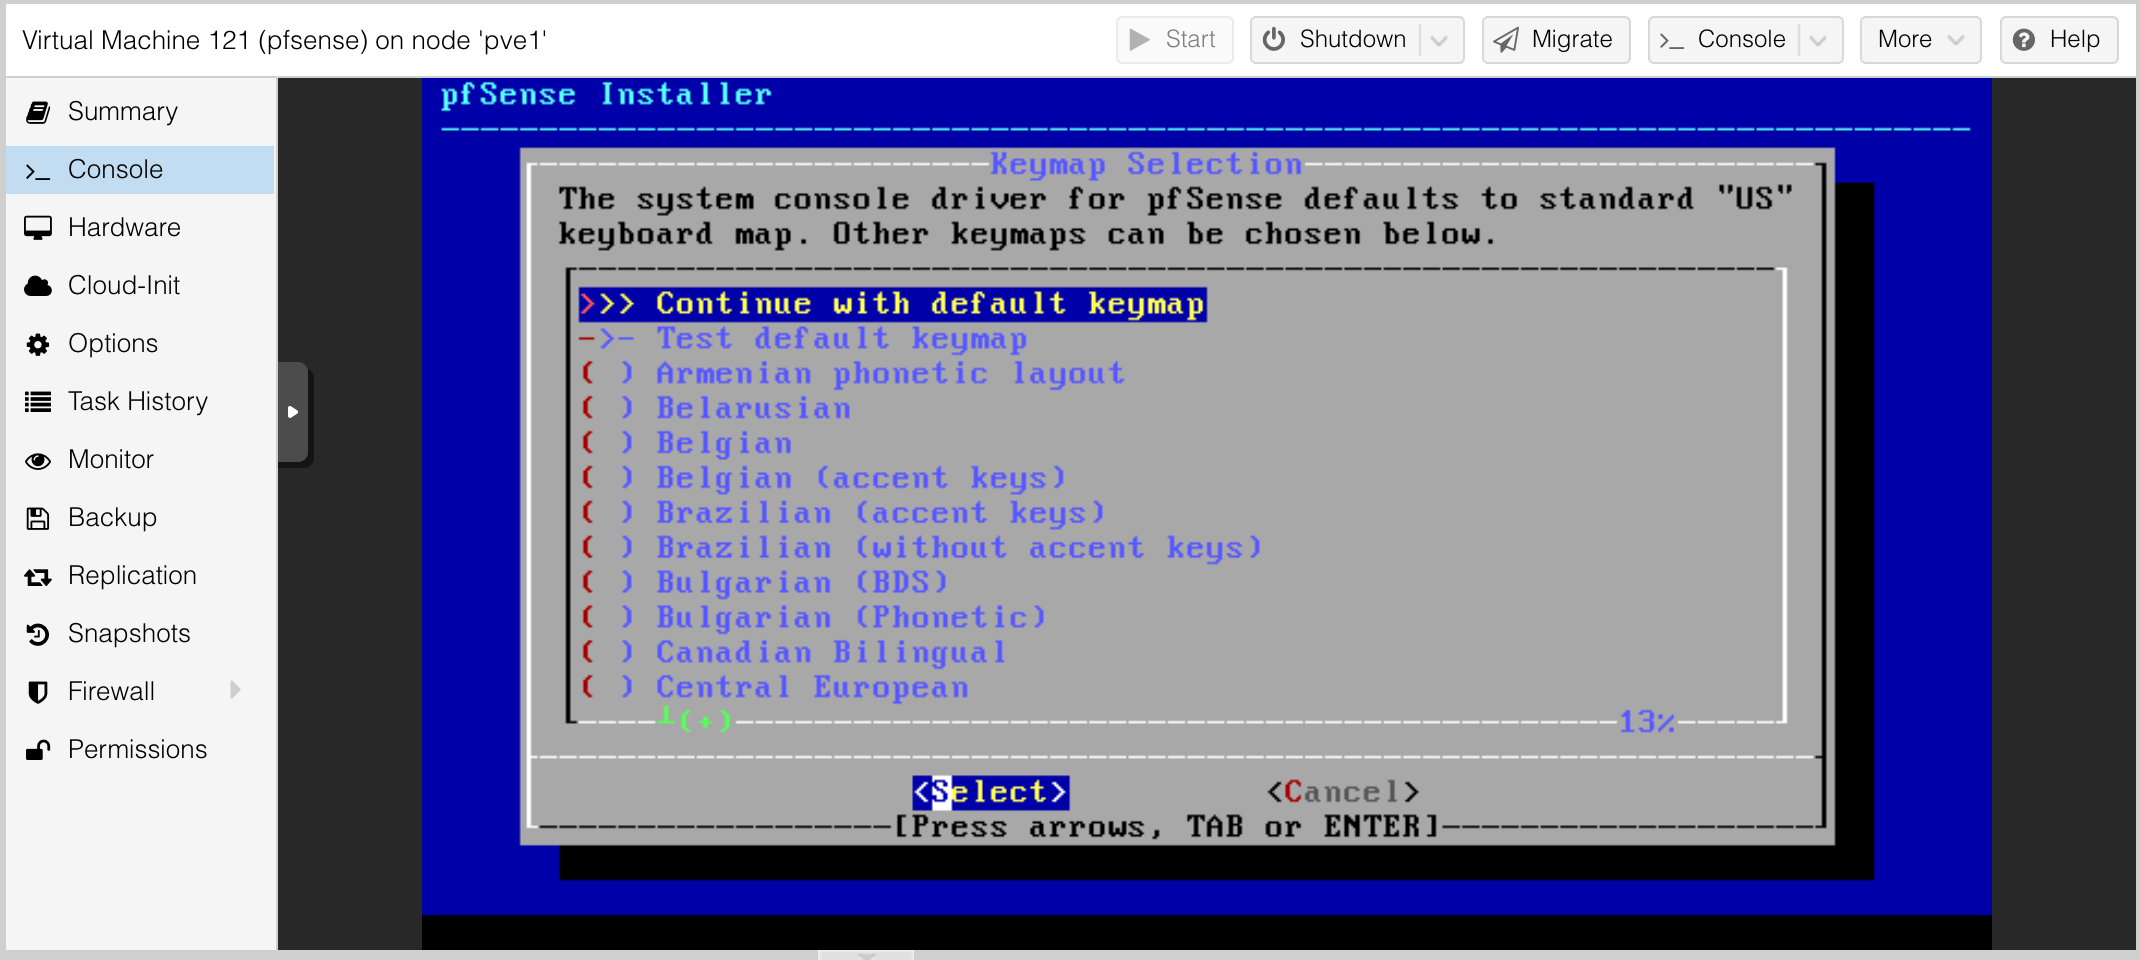
More nerd knobs we will ignore.
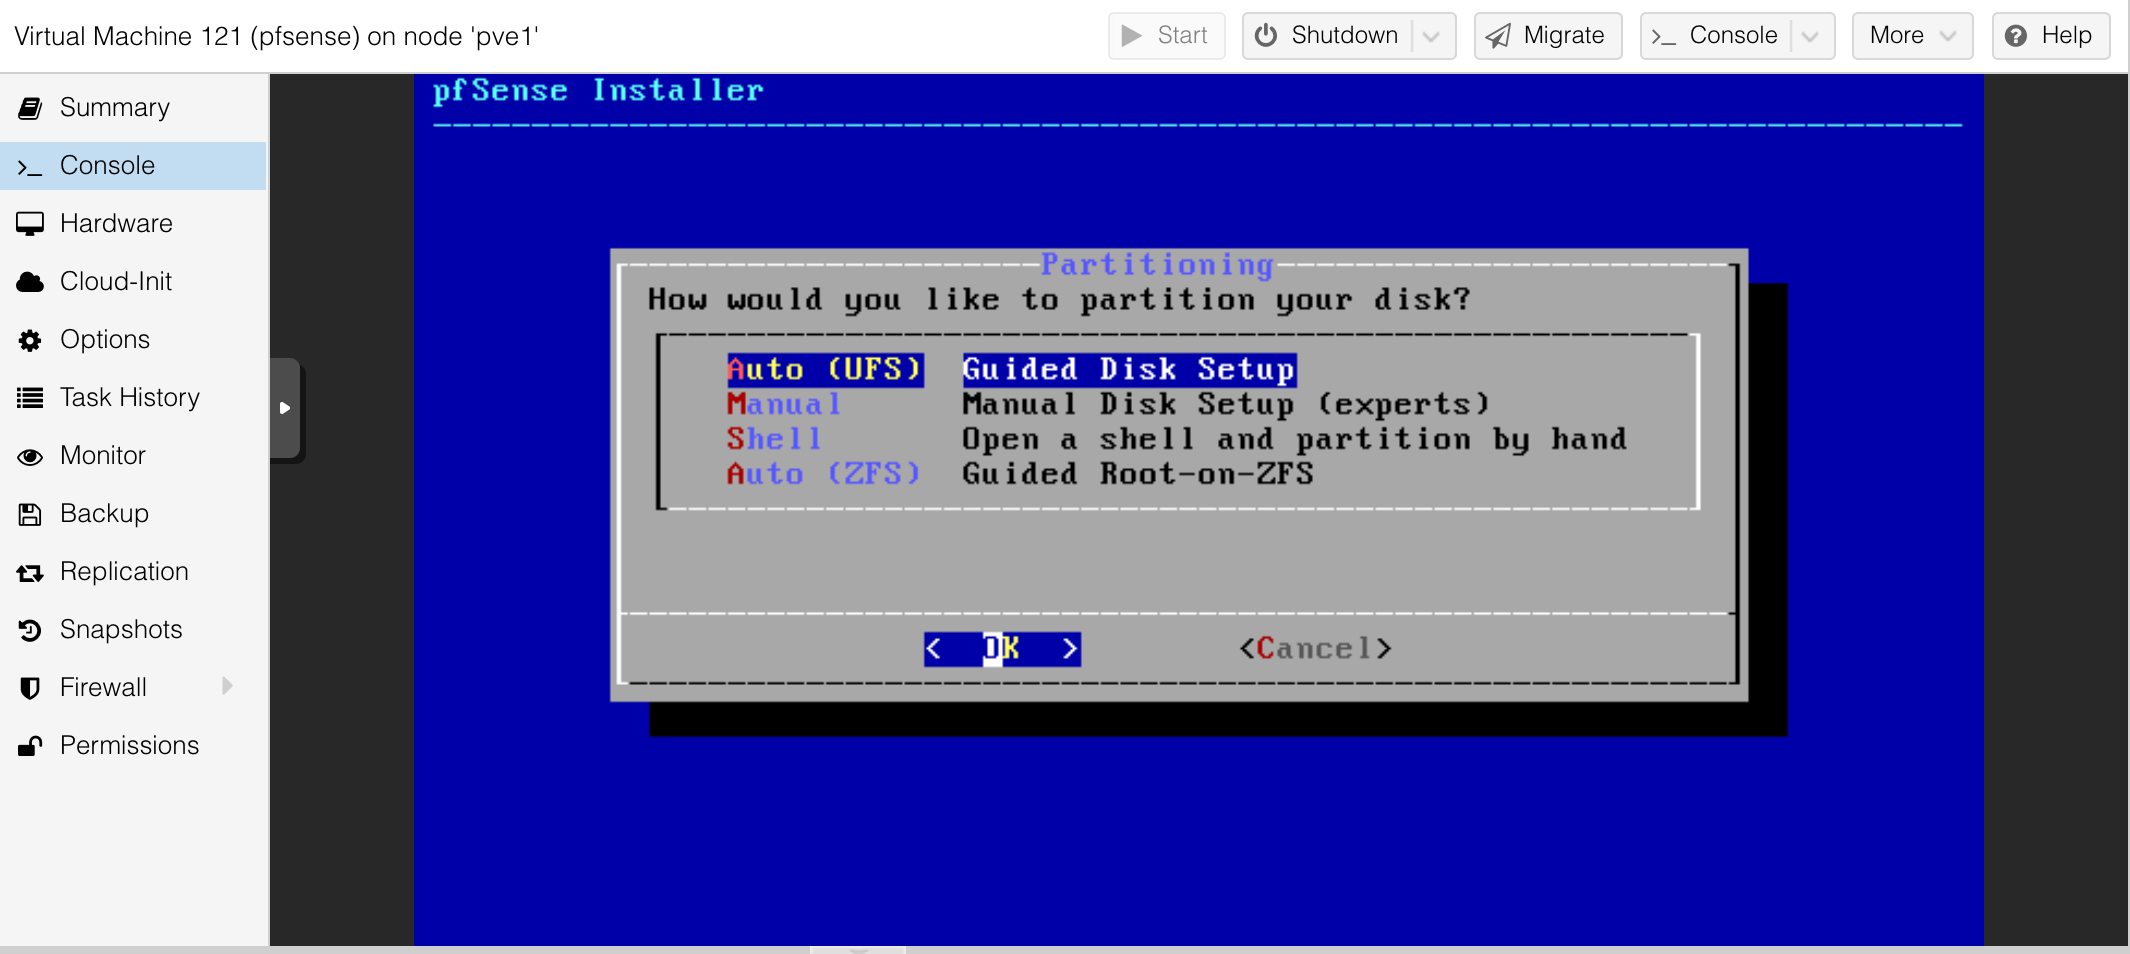
Coffee break.

Yay! The install completed.
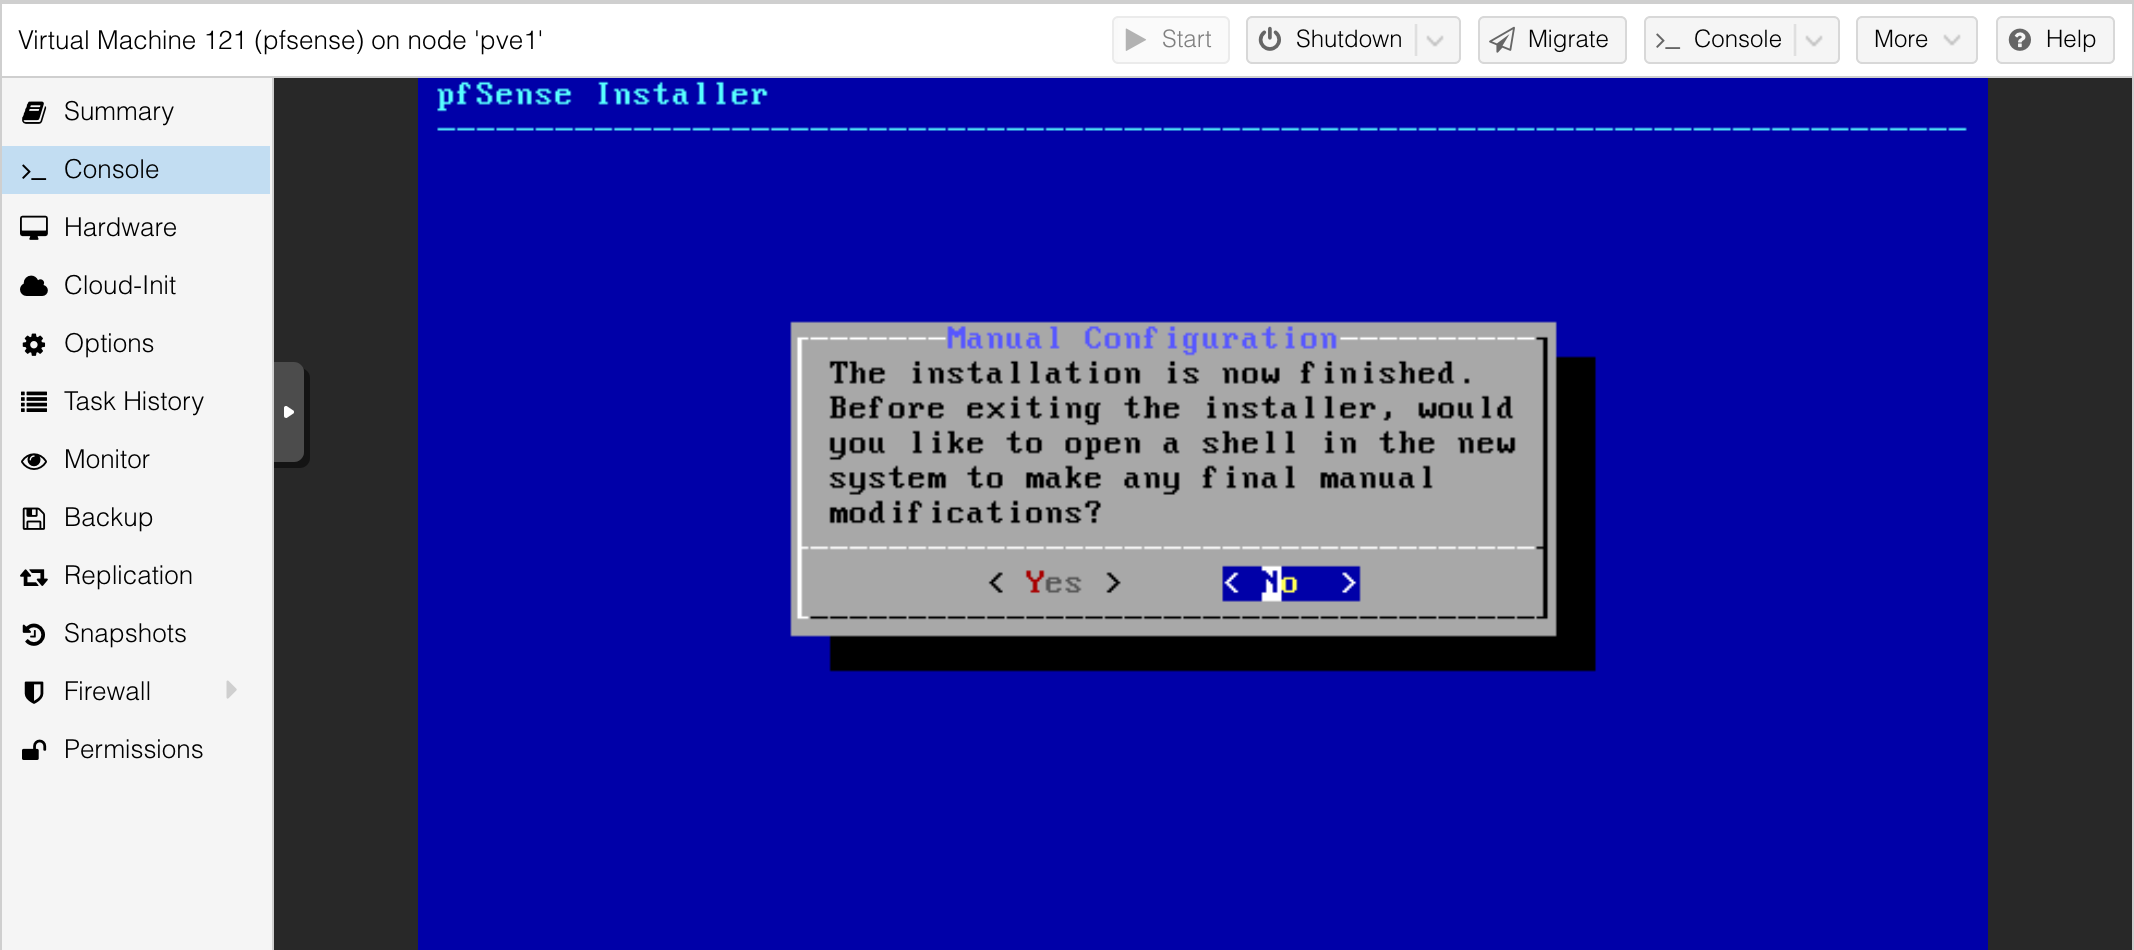
Reboot the vm, and we can log in for the first time.

Configure switches
some text
What's next?
some text